First time at MonkeyTaco? This post builds on our earlier projects. You don’t need to read them first — but if something looks unfamiliar, start here.
Let’s take a quick step back and look at the big picture.
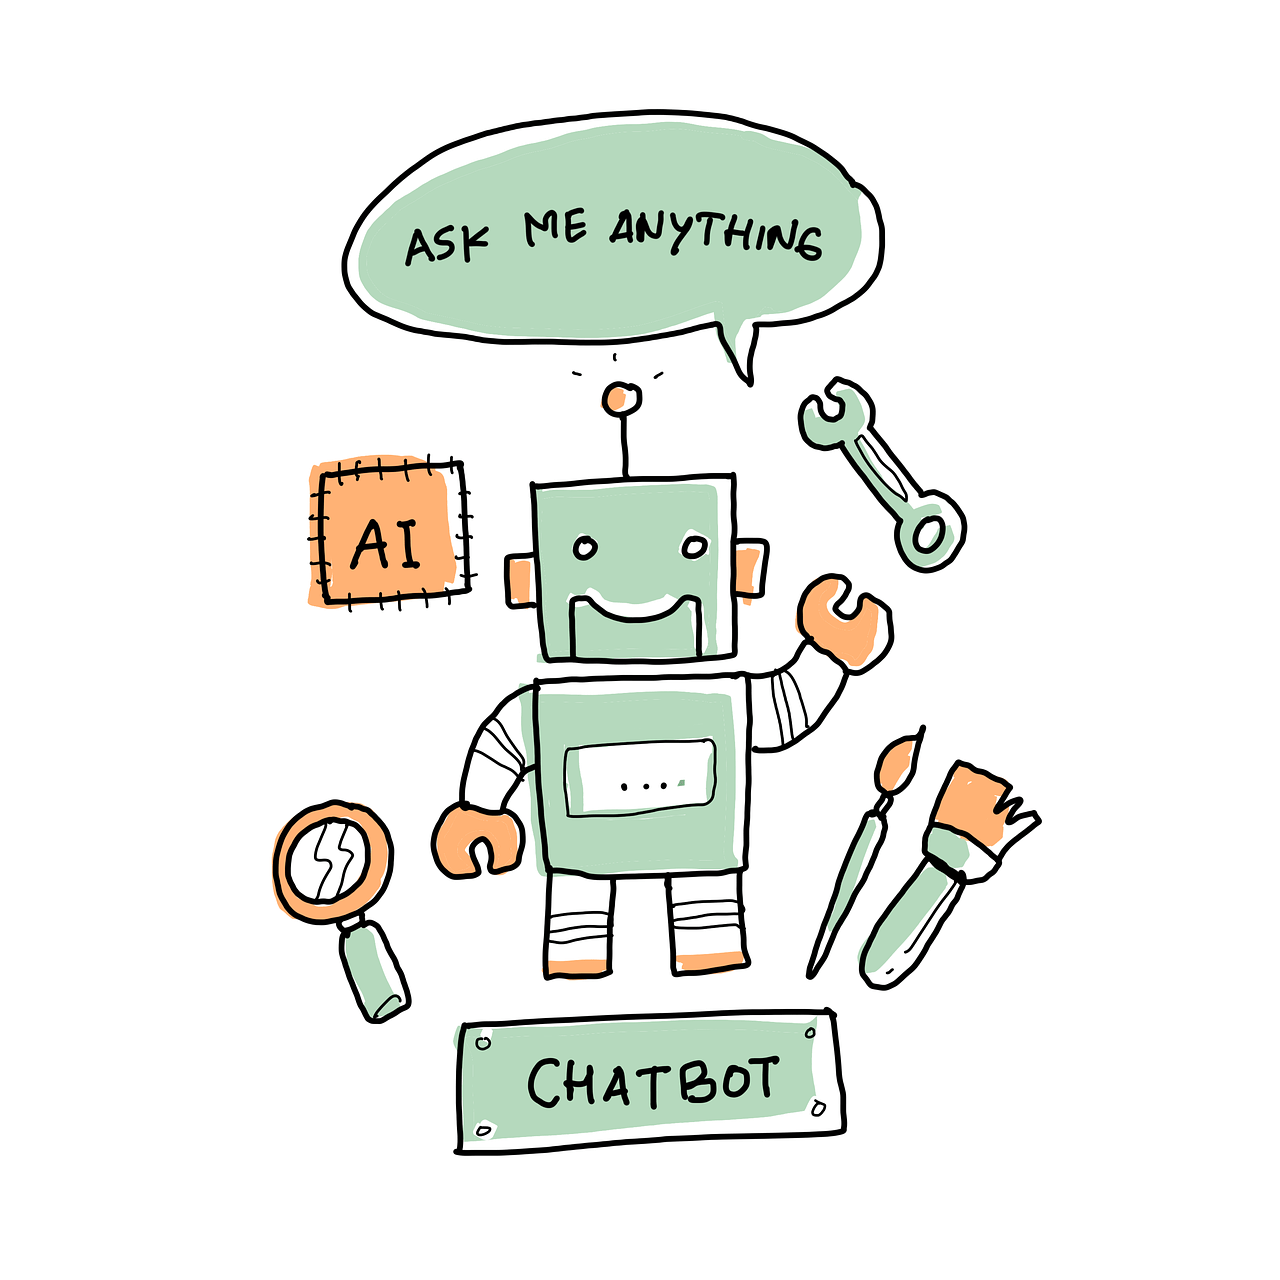
Over the last five posts, we’ve been quietly building something real. Our laptop robot can now:
- ✅ Detect people, furniture, vehicles, and pets in real time
- ✅ Greet anyone who walks in front of the webcam by name
- ✅ Count people in a room and warn when capacity is exceeded
- ✅ Detect falls and raise an alert
- ✅ Monitor posture and nudge you to sit up straight
Not bad for a laptop with a webcam and zero hardware budget.
But here’s what all five of those projects have in common: the robot knows that a person is there. It doesn’t know who that person is.
A system that can tell John from James, or recognize that the person walking in at 2am is not a registered resident — that’s a meaningfully different kind of intelligence. And it’s exactly where we’re headed in this post.
Two Different Questions
Before writing any code, let’s get clear on a distinction that confuses a lot of people — including, frankly, a lot of articles online.
Face Detection answers one question: “Is there a face here, and where is it?”
That’s it. The system scans the image, finds regions that look like faces, and draws a box around them. It has no idea whose face it is. It doesn’t care. It just finds faces.
Face Recognition answers a different question: “Whose face is this?”
To do that, the system needs to have seen that face before — in a database, a training set, a collection of labeled photos. It compares the face in front of the camera against everything it knows, and returns its best guess along with a confidence score.
The relationship between them is sequential. You cannot skip to recognition without detection first. Detection finds the face. Recognition identifies it. One is a prerequisite for the other.
Think of it this way: Face Detection is a security guard who notices someone has walked in. Face Recognition is the guard who also knows that person’s name, their access level, and whether they’re supposed to be there.
Why This Matters for Robots
Once a robot can recognize who it’s looking at, an entirely new category of applications opens up:
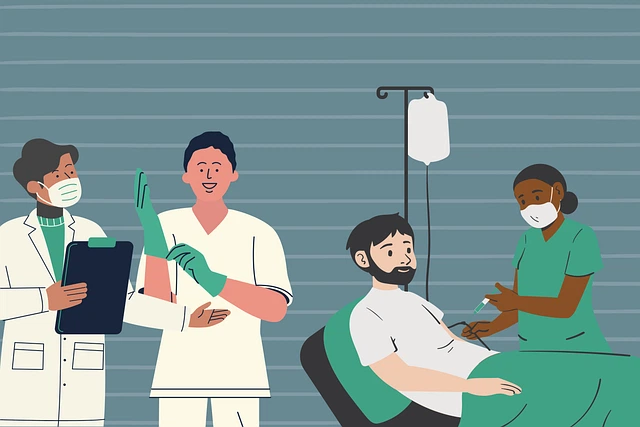
- Hospital reception robots that greet patients by name and pull up their records automatically
- Care home robots that distinguish between residents, staff, and visitors — and behave differently for each
- Security robots that flag unrecognized faces in restricted areas
- Attendance systems that check people in without any physical interaction
- Personalized assistance robots that remember individual preferences, medical history, and needs
All of these start with the same two-step pipeline: detect the face, then recognize it. We’re going to build both today.
Part 1: Face Detection with Haar Cascade
Our previous projects used YOLOv8 for object detection. For face detection specifically, OpenCV includes a classic algorithm called Haar Cascade — a machine learning model trained to find faces by scanning images for patterns of light and dark regions characteristic of human features (eye sockets darker than the forehead, the bridge of the nose lighter than the cheeks, and so on).
Haar Cascade is older than YOLO, less accurate in difficult conditions, but extremely fast and lightweight — which makes it ideal for real-time robotics applications on modest hardware.
Setup
If you don’t have OpenCV installed yet:
pip install opencv-python
You’ll also need the Haar Cascade model file: haarcascade_frontalface_default.xml. The easiest way is to let OpenCV find it automatically using cv2.data.haarcascades — no manual download needed. We’ll use that approach in all our code below.
The Code
Create a new Python file called faceDetect.py and paste in the following:
import cv2

# Load the Haar Cascade model — OpenCV includes this automatically
face_cascade = cv2.CascadeClassifier(
    cv2.data.haarcascades + "haarcascade_frontalface_default.xml"
)

cap = cv2.VideoCapture(0)
print("Face detector running... Press 'q' to quit")

while True:
    ret, frame = cap.read()
    if not ret:
        break

    # Haar Cascade works on grayscale images
    gray = cv2.cvtColor(frame, cv2.COLOR_BGR2GRAY)

    # Detect faces
    faces = face_cascade.detectMultiScale(
        gray, scaleFactor=1.1, minNeighbors=5, minSize=(30, 30)
    )

    # Draw a box around each detected face
    for (x, y, w, h) in faces:
        cv2.rectangle(frame, (x, y), (x + w, y + h), (0, 255, 0), 2)
        cv2.putText(frame, "Face detected", (x, y - 10),
                    cv2.FONT_HERSHEY_SIMPLEX, 0.8, (0, 255, 0), 2)

    cv2.imshow("MonkeyTaco — Face Detection", frame)

    if cv2.waitKey(1) & 0xFF == ord("q"):
        break

cap.release()
cv2.destroyAllWindows()
Hit Run. Look at your webcam — you’ll see a green rectangle appear around your face in real time.
[IMAGE: Face detection running with bounding box]
Part 2: Face Recognition — Teaching the Robot Who’s Who
Now for the more interesting part. We’re going to build a simple attendance system: the robot learns to recognize specific people, and when it sees one of them, it marks them as present.
The process has three steps:
Collect face images → Train the model → Run recognition
Step 1: Install the Required Libraries
pip install opencv-python opencv-contrib-python numpy Pillow
The opencv-contrib-python package is important — it includes the cv2.face module that contains the recognition algorithms.
Step 2: Collect Face Images
Create a new Python file called dataset.py. This script opens your webcam and captures 30 photos of each person you want to register, saving them to a folder called dataset.
import cv2
import os
face_detector = cv2.CascadeClassifier(
cv2.data.haarcascades + "haarcascade_frontalface_default.xml"
)
os.makedirs("dataset", exist_ok=True)
while True:
face_id = input("\nEnter user ID (e.g. 1, 2, 3...) and press Enter: ")
print("\n[INFO] Starting camera. Look straight ahead and stay still...")
cam = cv2.VideoCapture(0)
cam.set(3, 640)
cam.set(4, 480)
count = 0
while True:
ret, img = cam.read()
gray = cv2.cvtColor(img, cv2.COLOR_BGR2GRAY)
faces = face_detector.detectMultiScale(gray, 1.3, 5)
for (x, y, w, h) in faces:
cv2.rectangle(img, (x, y), (x + w, y + h), (255, 0, 0), 2)
count += 1
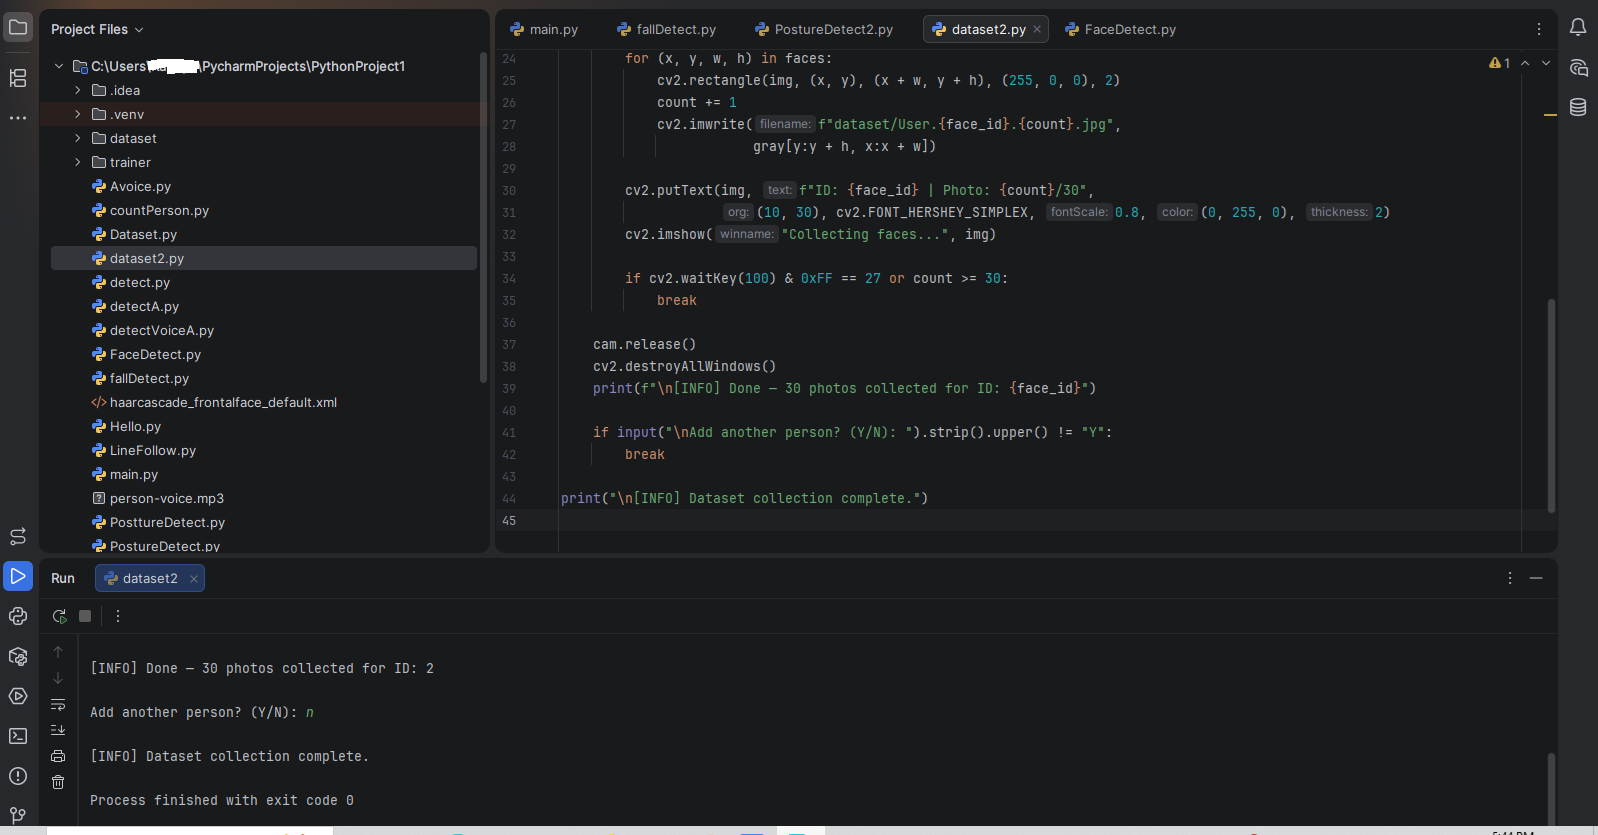
cv2.imwrite(f"dataset/User.{face_id}.{count}.jpg",
gray[y:y + h, x:x + w])
cv2.putText(img, f"ID: {face_id} | Photo: {count}/30",
(10, 30), cv2.FONT_HERSHEY_SIMPLEX, 0.8, (0, 255, 0), 2)
cv2.imshow("Collecting faces...", img)
if cv2.waitKey(100) & 0xFF == 27 or count >= 30:
break
cam.release()
cv2.destroyAllWindows()
print(f"\n[INFO] Done — 30 photos collected for ID: {face_id}")
if input("\nAdd another person? (Y/N): ").strip().upper() != "Y":
break
print("\n[INFO] Dataset collection complete.")
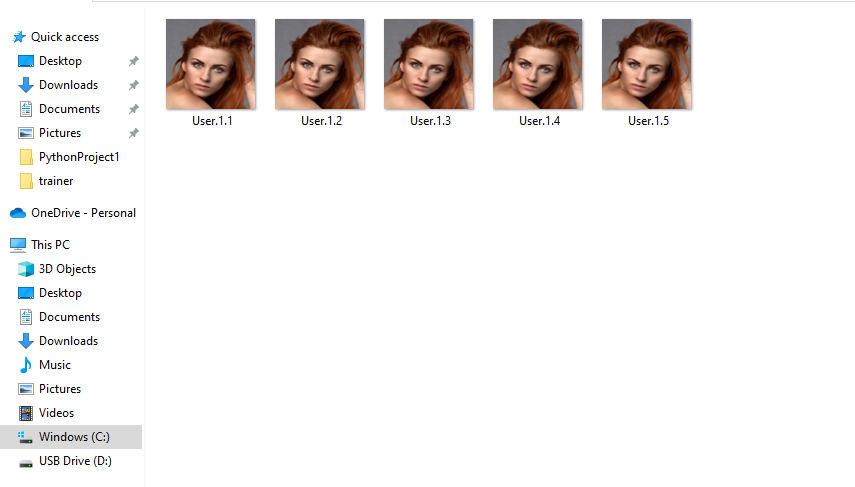
Run this script. When prompted, type 1 and press Enter. The camera captures 30 photos of the first person, then asks if you want to add another. Type Y and enter 2 for the second person, and so on.
After running, check the dataset folder — you’ll find files named User.1.1.jpg, User.1.2.jpg … User.2.1.jpg, User.2.2.jpg, and so on.
No live subjects available? No problem. Download free portrait photos from Pixabay, resize and crop them to 255×255 pixels using Microsoft Paint or any image editor, and drop them into the dataset folder with the correct naming format.
Step 3: Train the Model
Create a new file called training.py. This script reads all the photos in dataset, learns the facial features of each person, and saves everything into a file called trainer.yml.
import cv2
import numpy as np
from PIL import Image
import os

path = "dataset"
recognizer = cv2.face.LBPHFaceRecognizer_create()
detector = cv2.CascadeClassifier(
    cv2.data.haarcascades + "haarcascade_frontalface_default.xml"
)
os.makedirs("trainer", exist_ok=True)

def getImagesAndLabels(path):
    imagePaths = [os.path.join(path, f) for f in os.listdir(path)]
    faceSamples = []
    ids = []

    for imagePath in imagePaths:
        PIL_img = Image.open(imagePath).convert("L")  # Convert to grayscale
        img_numpy = np.array(PIL_img, "uint8")
        face_id = int(os.path.split(imagePath)[1].split(".")[1])
        faces = detector.detectMultiScale(img_numpy)

        for (x, y, w, h) in faces:
            faceSamples.append(img_numpy[y:y + h, x:x + w])
            ids.append(face_id)

    return faceSamples, ids

print("\n[INFO] Training model... please wait")
faces, ids = getImagesAndLabels(path)
recognizer.train(faces, np.array(ids))
recognizer.write("trainer/trainer.yml")
print(f"\n[INFO] {len(np.unique(ids))} face(s) trained. Saved to trainer/trainer.yml")
Run this script. It processes all images in dataset, extracts facial features, and saves the result. When you see the confirmation message, the training is complete.
The trainer.yml file is now the robot’s memory — a compact record of what each registered person looks like.
Step 4: Run Recognition and Attendance
Create a final file called recognition.py.
Important: Update the names list to match the IDs you used during dataset collection. The index position corresponds to the ID number — so names[1] is the person you registered as ID 1, names[2] is ID 2, and so on.
import cv2
recognizer = cv2.face.LBPHFaceRecognizer_create()
recognizer.read("trainer/trainer.yml")
faceCascade = cv2.CascadeClassifier(
cv2.data.haarcascades + "haarcascade_frontalface_default.xml"
)
font = cv2.FONT_HERSHEY_SIMPLEX
# Update these names to match your dataset IDs
# Index 0 is unused — IDs start at 1
names = ["None", "Alice", "Bob", "Carol"]
cam = cv2.VideoCapture(0)
cam.set(3, 640)
cam.set(4, 480)
minW = 0.1 * cam.get(3)
minH = 0.1 * cam.get(4)
CONFIDENCE_THRESHOLD = 70 # Minimum confidence % to accept a match
attended = set() # Track who has already been marked present
message = ""
message_timer = 0
print("Attendance system running... Press ESC to quit")
while True:
ret, img = cam.read()
gray = cv2.cvtColor(img, cv2.COLOR_BGR2GRAY)
faces = faceCascade.detectMultiScale(
gray, scaleFactor=1.2, minNeighbors=5,
minSize=(int(minW), int(minH))
)
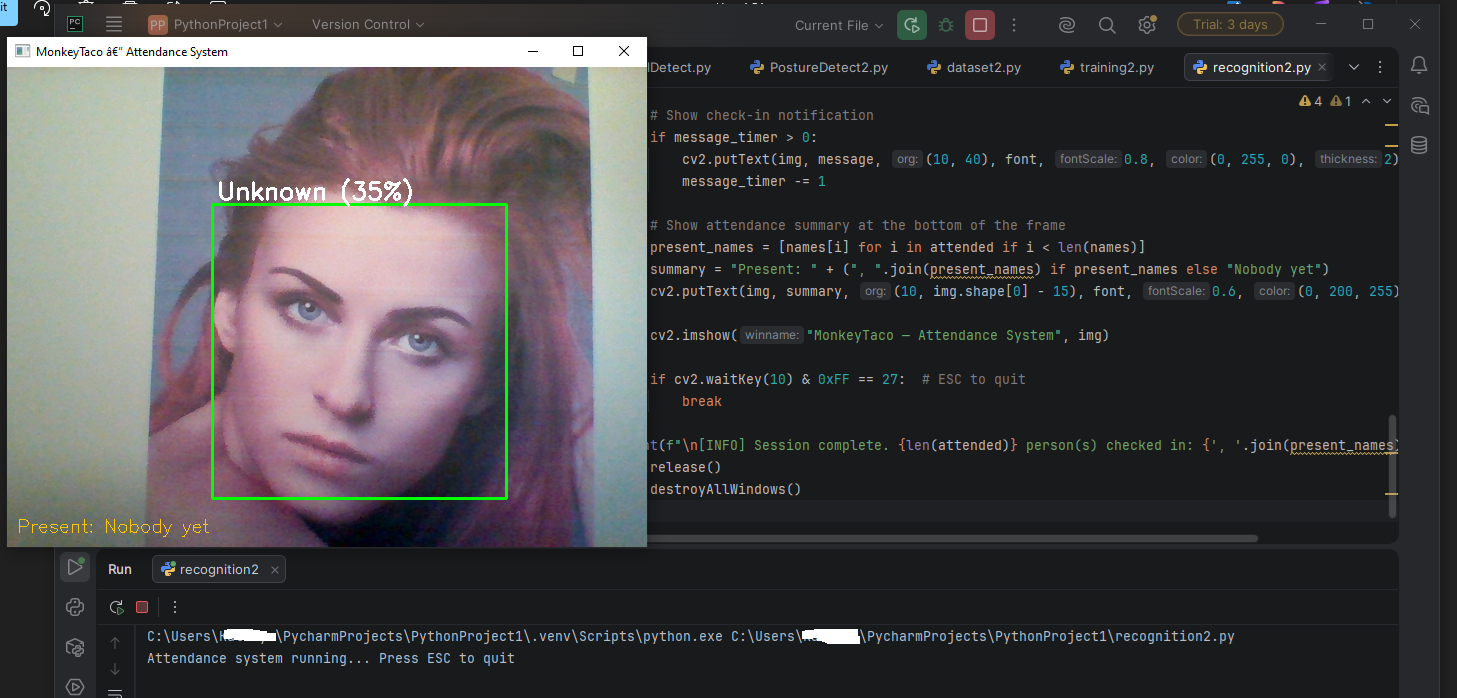
for (x, y, w, h) in faces:
cv2.rectangle(img, (x, y), (x + w, y + h), (0, 255, 0), 2)
face_id, confidence = recognizer.predict(gray[y:y + h, x:x + w])
accuracy = round(100 - confidence)
if accuracy >= CONFIDENCE_THRESHOLD:
name = names[face_id] if face_id < len(names) else "Unknown"
if face_id not in attended:
attended.add(face_id)
message = f"{name} checked in!"
message_timer = 60 # Show message for ~2 seconds
print(f"[INFO] {name} checked in. Confidence: {accuracy}%")
label = f"{name} ({accuracy}%) — Present"
else:
label = f"Unknown ({accuracy}%)"
cv2.putText(img, label, (x + 5, y - 5), font, 0.8, (255, 255, 255), 2)
# Show check-in notification
if message_timer > 0:
cv2.putText(img, message, (10, 40), font, 0.8, (0, 255, 0), 2)
message_timer -= 1
# Show attendance summary at the bottom of the frame
present_names = [names[i] for i in attended if i < len(names)]
summary = "Present: " + (", ".join(present_names) if present_names else "Nobody yet")
cv2.putText(img, summary, (10, img.shape[0] - 15), font, 0.6, (0, 200, 255), 1)
cv2.imshow("MonkeyTaco — Attendance System", img)
if cv2.waitKey(10) & 0xFF == 27: # ESC to quit
break
print(f"\n[INFO] Session complete. {len(attended)} person(s) checked in: {', '.join(present_names)}")
cam.release()
cv2.destroyAllWindows()
Run this script and look at the camera. Each registered person is recognized, labeled by name with a confidence percentage, and marked present. Once checked in, they won’t be counted again until the next session.
How It All Fits Together
Here’s the full pipeline we just built:
Dataset.py → captures 30 photos per person, saves to
dataset/
Training.py → learns facial features from photos, saves totrainer/trainer.yml
Recognition.py → loads the trained model, recognizes faces in real time
You only need to run dataset.py and training.py once per person (or when you add new people). After that, recognition.py is your day-to-day tool.
One Honest Limitation
The LBPH (Local Binary Pattern Histogram) algorithm we’re using is reliable and fast, but it’s sensitive to lighting and angle. If someone is recognized poorly, try:
- Re-collecting their dataset photos in the same lighting conditions where the system will be used
- Increasing the number of photos from 30 to 50 or more
- Lowering
CONFIDENCE_THRESHOLDslightly — but not too far, or you’ll get false matches
A production system would use a deep learning-based recognizer (like face_recognition with dlib, or a dedicated face embedding model). For learning and prototyping, LBPH is a clean, accessible starting point.
What’s Next?
Our robot can now see faces and recognize people. But interacting with it still requires standing in front of a camera. What if you could trigger a response without touching anything — using just a hand gesture?
That’s exactly what we build next: a virtual nurse call button that responds to a specific hand gesture, no hardware required.
Part 7 — Building a Virtual Nurse Call Button With Just Your Hand
MonkeyTaco — Serious Robots. Zero Budget. Maximum Chaos.